Many ball clays are available and it seems that different body recipes always call for a brand of ball clay that is not in stock. So we have to get it. But how substitutable are ball clays? Of course, certain brands claim to be low carbon, their raw powder color is significantly lighter, so there is motivation to prefer them for the finest porcelains. Some claim to be more plastic because they have a small particle size, so it makes sense to use these where plasticity is most important. Likewise, we use a large particle size ball clay for casting slips. And low iron ones for the whitest bodies. This is conventional wisdom but just how valid are these ideas? It turns out much less so that I thought.
The catalyst to make me look at a detail comparison came quickly: receipt of a couple of contaminated shipments of a specific ball clay (large lignite and iron particles). The degree of contamination was ridiculous and lots of product was lost. And their testing did not catch it, we caught it and they were surprised! An additional motivation was to reduce the number of ball clays used in the production line (we were using half a dozen). We also had historical issues with the quality of another. So I questioned: Are ball clays really all that different from one another such that if I substitute one for another the body will change drastically? How really are they different? Can a knowledge of that help me eliminate some and substitute others?
As I work through this series I will refer to entering lab measurement data into Insight-live. But I will not show all the mechanical details of doing this (you will be able to find more of that in the first study in this series).
Deciding How to Proceed
How does one compare two ball clays? Or six? The keyword here is 'compare'. I do not need to know the absolute properties of these materials, I just need to know how others compare with the one I am using. But what do I compare?
Data Sheets? Traditionally technicians look at numbers on data sheets to evaluate materials. These mention things like water of plasticity, dry shrinkage, dry M.O.R., pH, M.B.I., specific surface area and P.C.E. However these numbers are not really that helpful in this case. They enable some relative comparisons between different ball clays made by the same manufacturer but they are not very helpful in comparing materials from different manufacturers (because of the lack of standards and differences in testing methods).
Working properties: If a ball clay is employed in a casting slip, obviously we do not want to switch to another that does not disperse as well or casts slower. But since we use almost all of our ball clays in plastic bodies I do not need to worry about this. Plasticity is actually not that much of a concern. Almost all of our bodies contain a little bentonite to help with plasticity, the percentage of that can be adjusted as needed. Green strength is an issue, some ball clays are alot weaker in the dry state.
Chemistry: While it makes a lot of sense to compare glazes and glaze materials by looking at their chemistries, this is not the case with clay bodies. With bodies it is about physical and fired properties, I do not care about the chemistry. One possible exception is the iron content. However this often means little. What good is a ball clay that claims a lower Fe2O3 content on its data sheet if it fires darker?
Firing properties: This is what I really need to know about. Firing color. Fired maturity (porosity, shrinkage). Thermal expansion. Particulate content (especially iron and lignite). Soluble salts. So let's do some testing.
Pure or In a Recipe
Pure ball clays are extremely sticky and plastic (by definition), so much so that it can be very difficult to dewater them, prepare test bars or dry them without cracking. I want to watch the behavior or these materials as they densify and and I want to see them in a fully vitrified (and over-vitrified state (this is when any color imparted by iron really or any tendency to bloat makes become evident). So I decided to mix each 65:35 with Nepheline Syenite. This is enough to completely vitrify them at cone 6.
Preparing the Plastic Bodies
As in the past lesson, I planned everything in my account at Insight-Live. I created a project and explained the objective, then created six recipes and linked them to the project. Then I printed mix tickets of 1000 grams for each two-part body, enough to throw a tall mug and make the specimens.
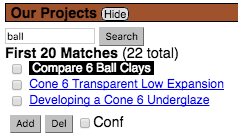
Why did I make a project in Insight-Live? It is a way of tying or linking a bunch of recipes together in a package. I opened the Projects Manager (it is the brown band on the left). I have many projects so I have searched for any whose titles or notes contain the word "Ball".
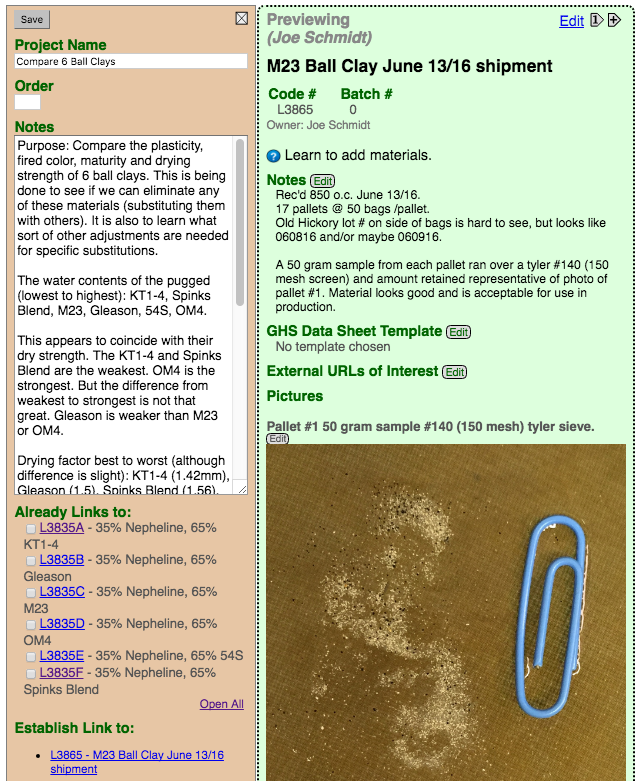
To link each recipe to the project I simply kept the project panel open on the left and previewed each recipe I wanted to link. Notice at the bottom of the project panel there is a link I can click to establish that link.
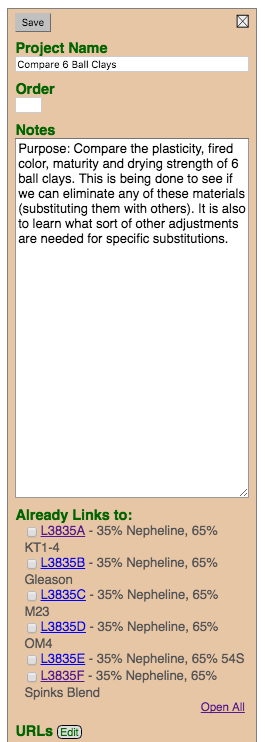
I have already created all the recipes and linked them to the project (the tan box on the left). Notice the Open All on the lower left of that panel. This will open all the recipes side-by-side.
Making Test Bars
If you read the first case study you will know that in Insight-Live we use three or four-letter abbreviations for tests we perform (e.g. DFAC is drying factor, SHAB is shrinkage/absorption). Tests are performed on specimens. For DFAC we make one round disk, one specimen. But for SHAB we make test bars to be fired at more than one temperature. Each bar is numbered (typically starting at one), each is a specimen. For each specimen we must gather data to plug into the variables it defines. For example, for an SHAB bar I need to enter the dry length, fired length, dry weight, wet weight and the temperature.
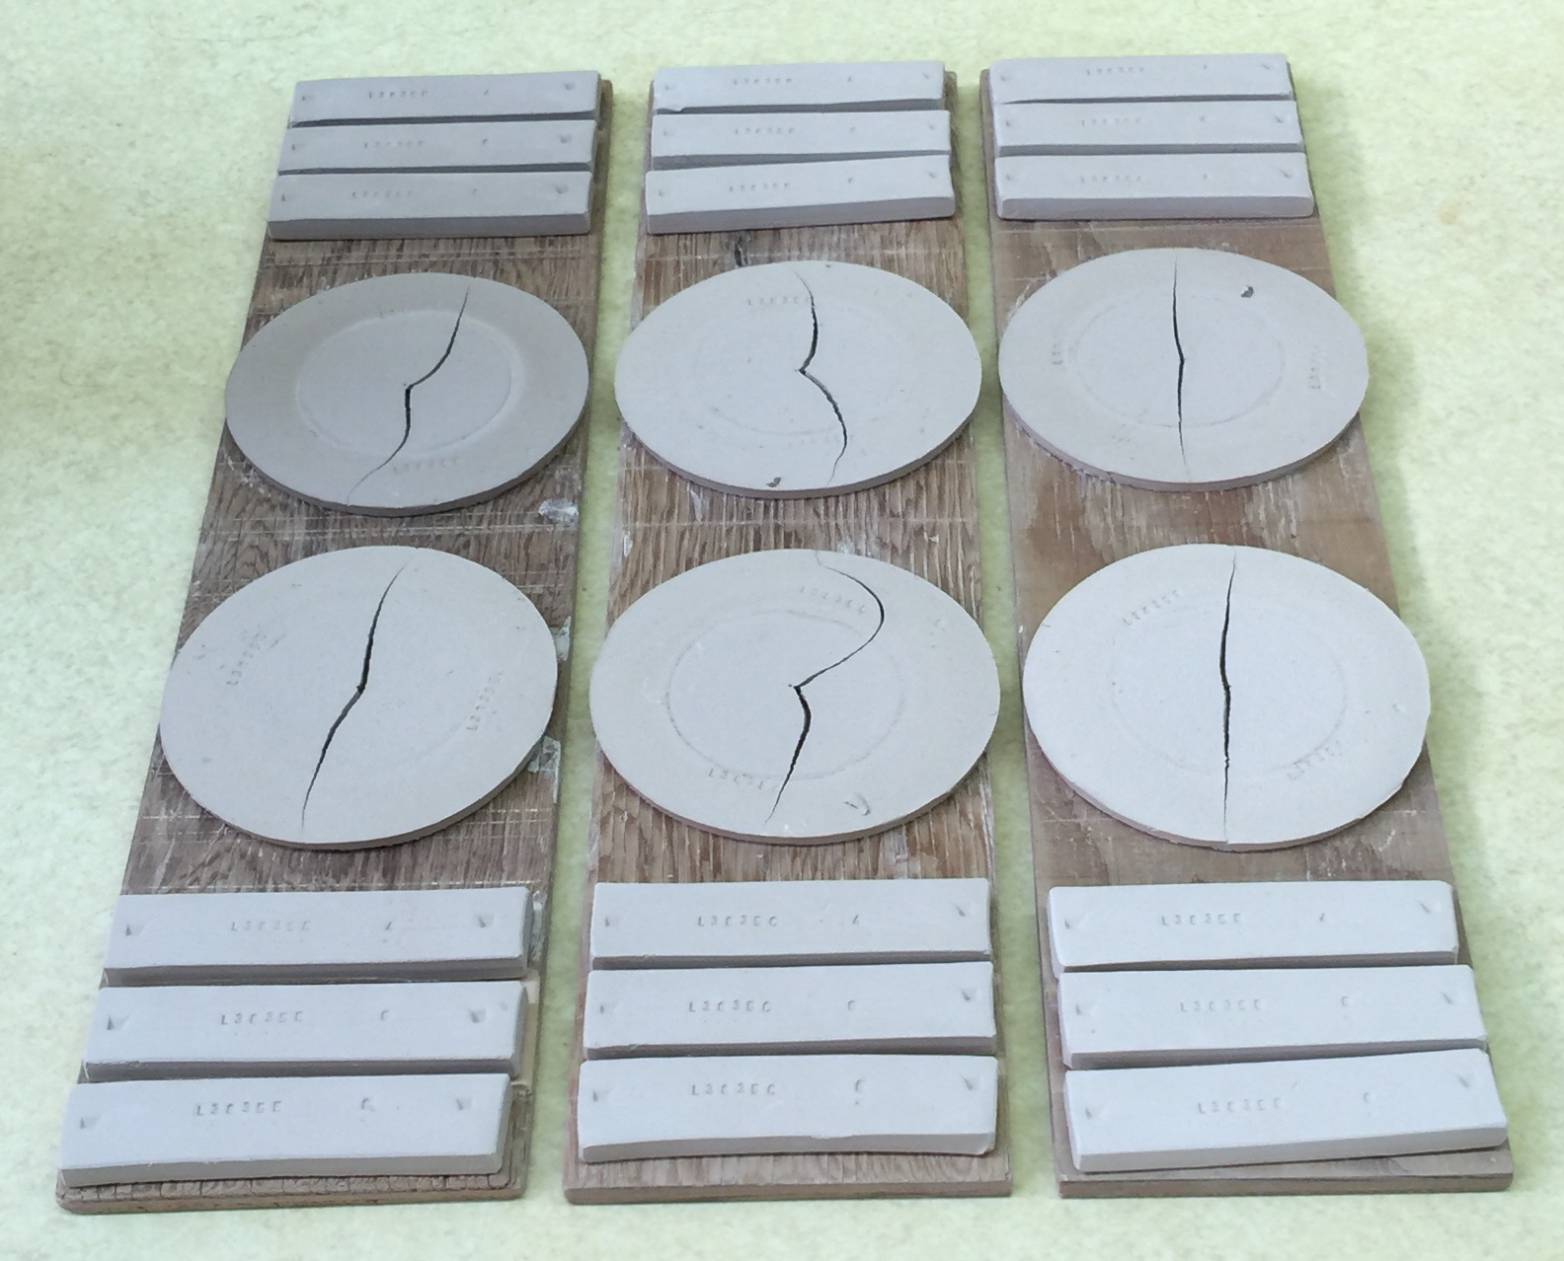
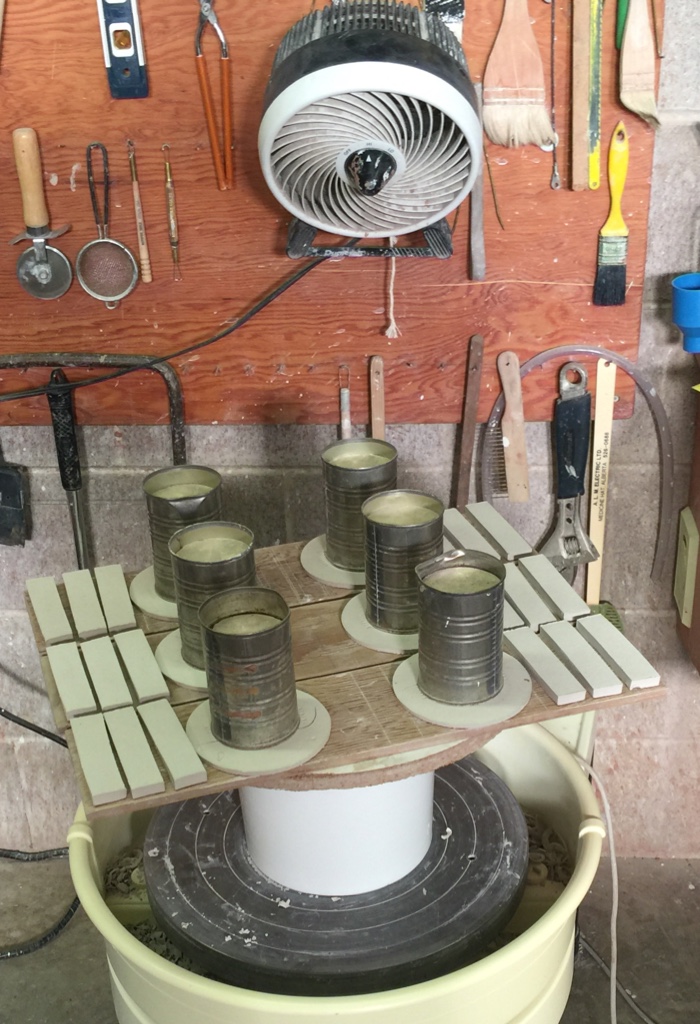
To prepare the specimens I follow the procedures that I find at in Insight-Live (it takes me to the appropriate page at the Digitalfire Reference Database when I click on SHAB or DFAC links). I prepared the specimens, you can see them below. I have three SHAB bars and one DFAC disk for each ball clay:nepheline syenite mix. I also made LDW tests (not shown). You will be surprised at how much information these will give us to compare the ball clays.
The images shown in these lessons are full quality, you can zoom them on your phone to tablet)
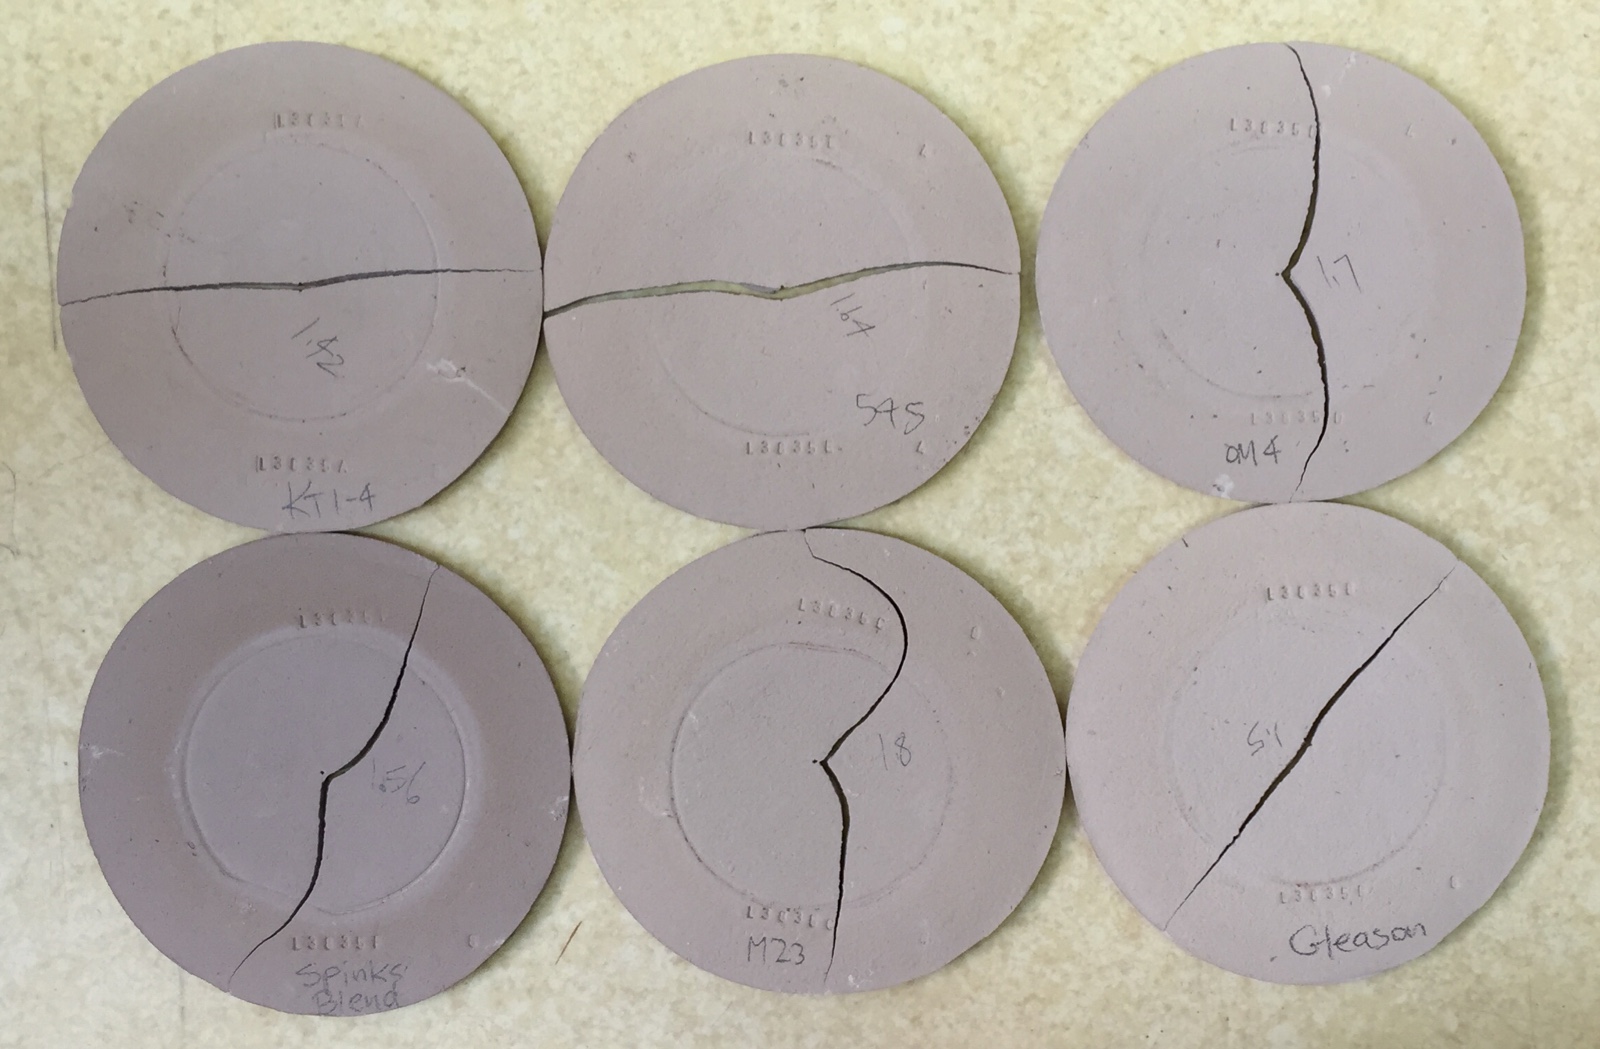
The first step is, of course, to dry the specimens. Let's examine DFAC disks.
DFAC Disks
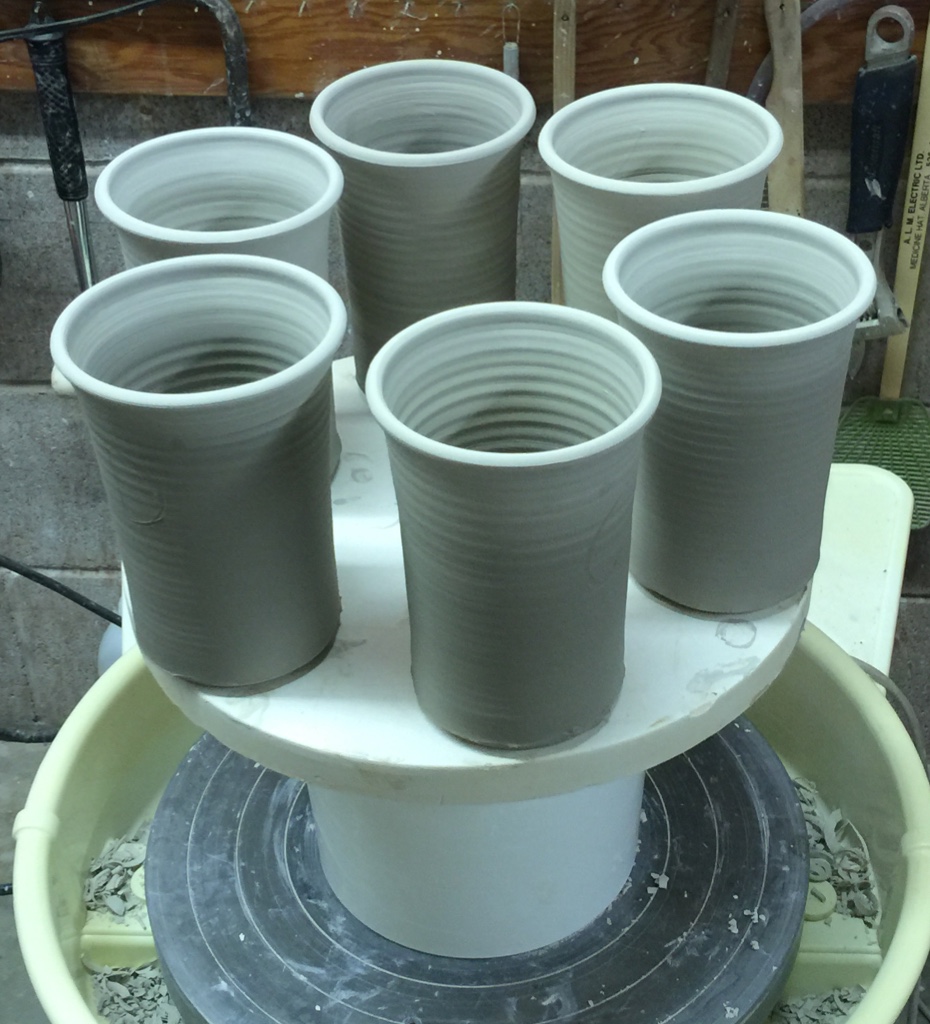
Throwing Vessels to Compare Various Properties
Many ceramic labs would not dream of doing a test like this. Yet it tells us so many things. I know of no other way to compare the plasticity as effectively. Likewise, fired appearance glazed and unglazed, the reaction to a glaze and the glaze fit. In addition this imposes a very realistic drying performance test. The results were surprising.
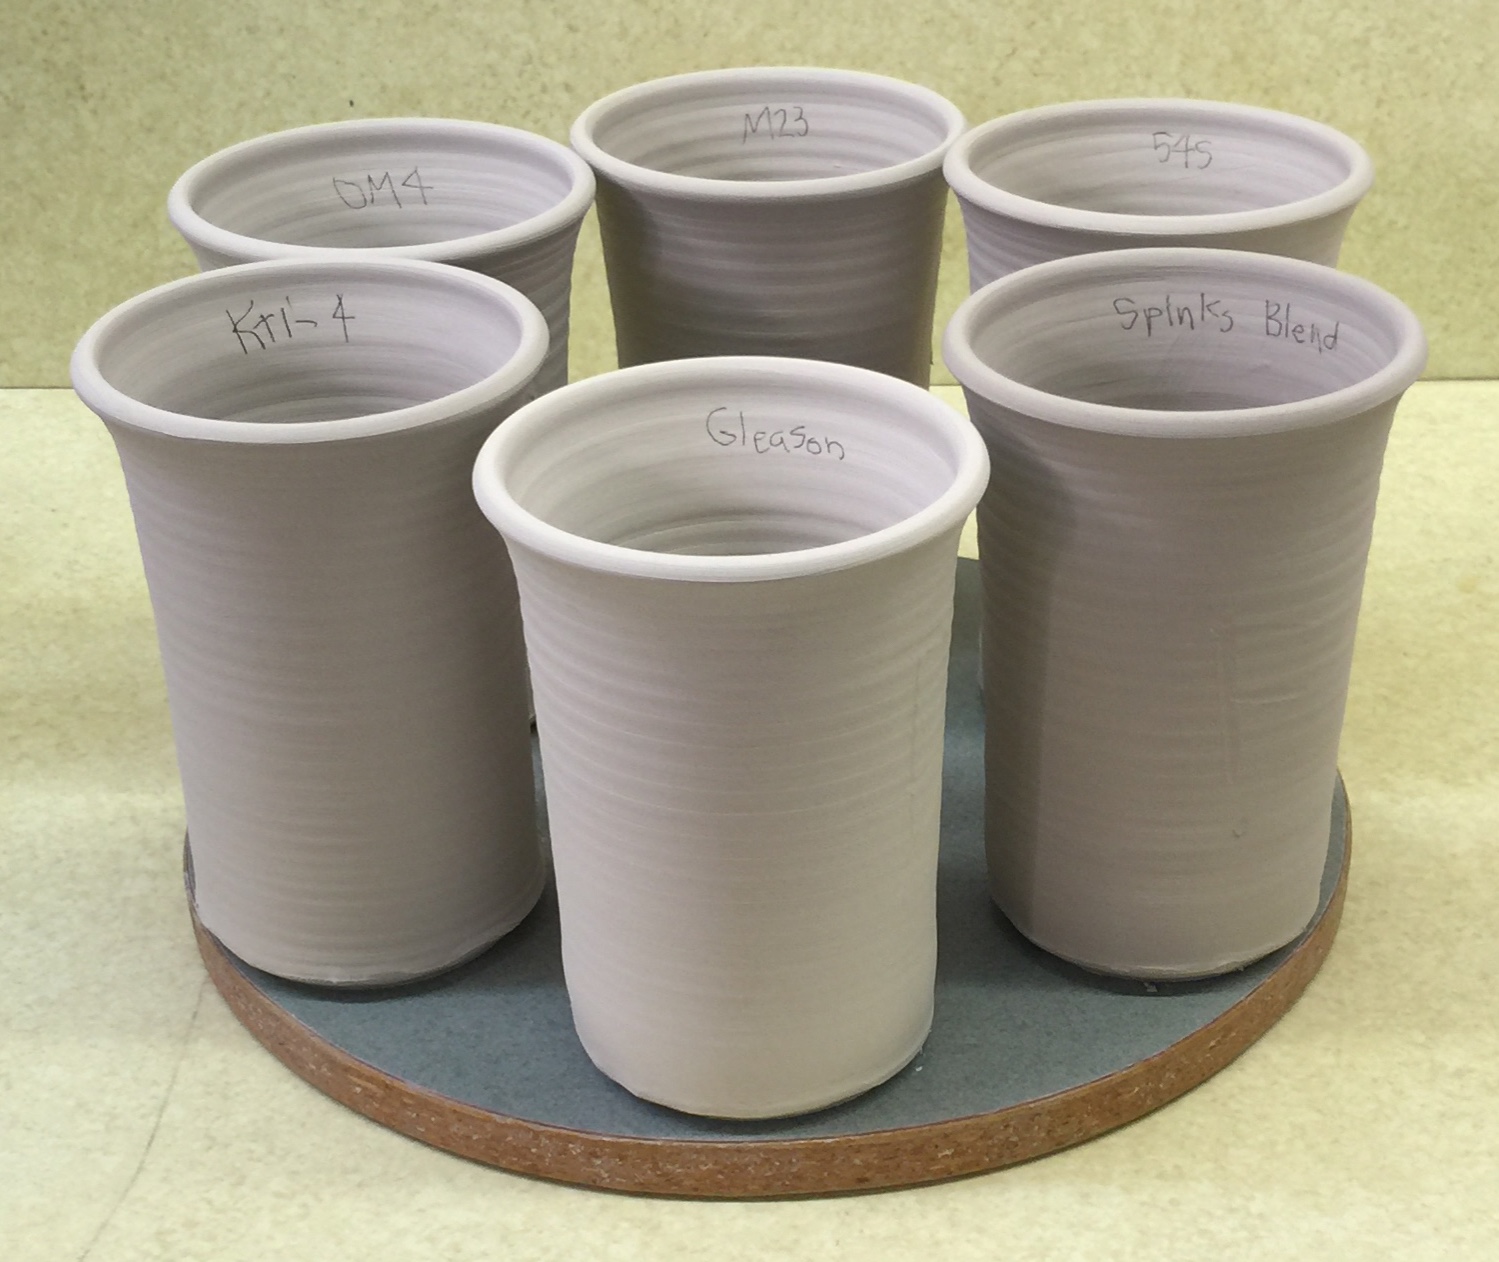
I adjusted the water content of each so they were the same tactile stiffness and then threw 500 grams to as tall of a cylinder as I could. I expected that I would be able to pull the supposedly more plastic OM4 much higher that the large-particle KT1-4 casting ball clay. Likewise with the Spinks Blend. But not so. They are all practically the same size!
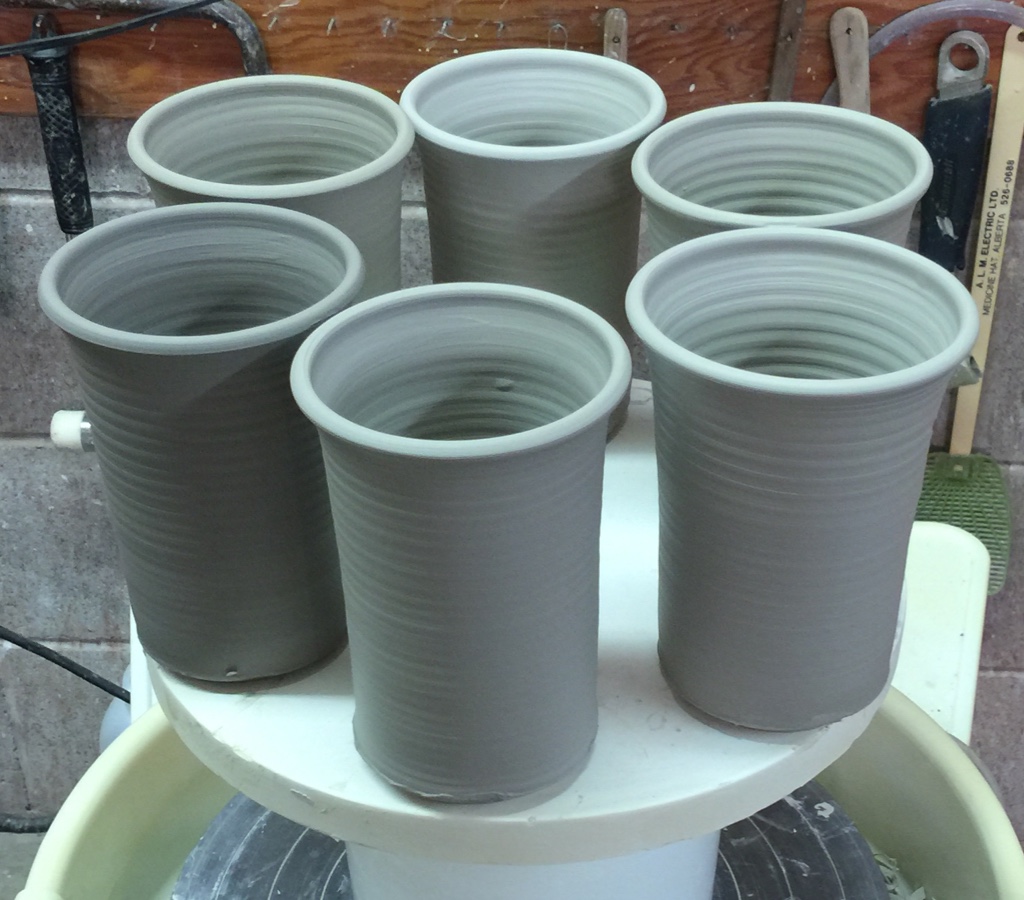
Next I subjected them to stress during drying, allowing the rims to go bone-dry while the bases were still soft. What happened? None cracked! This amazes me.
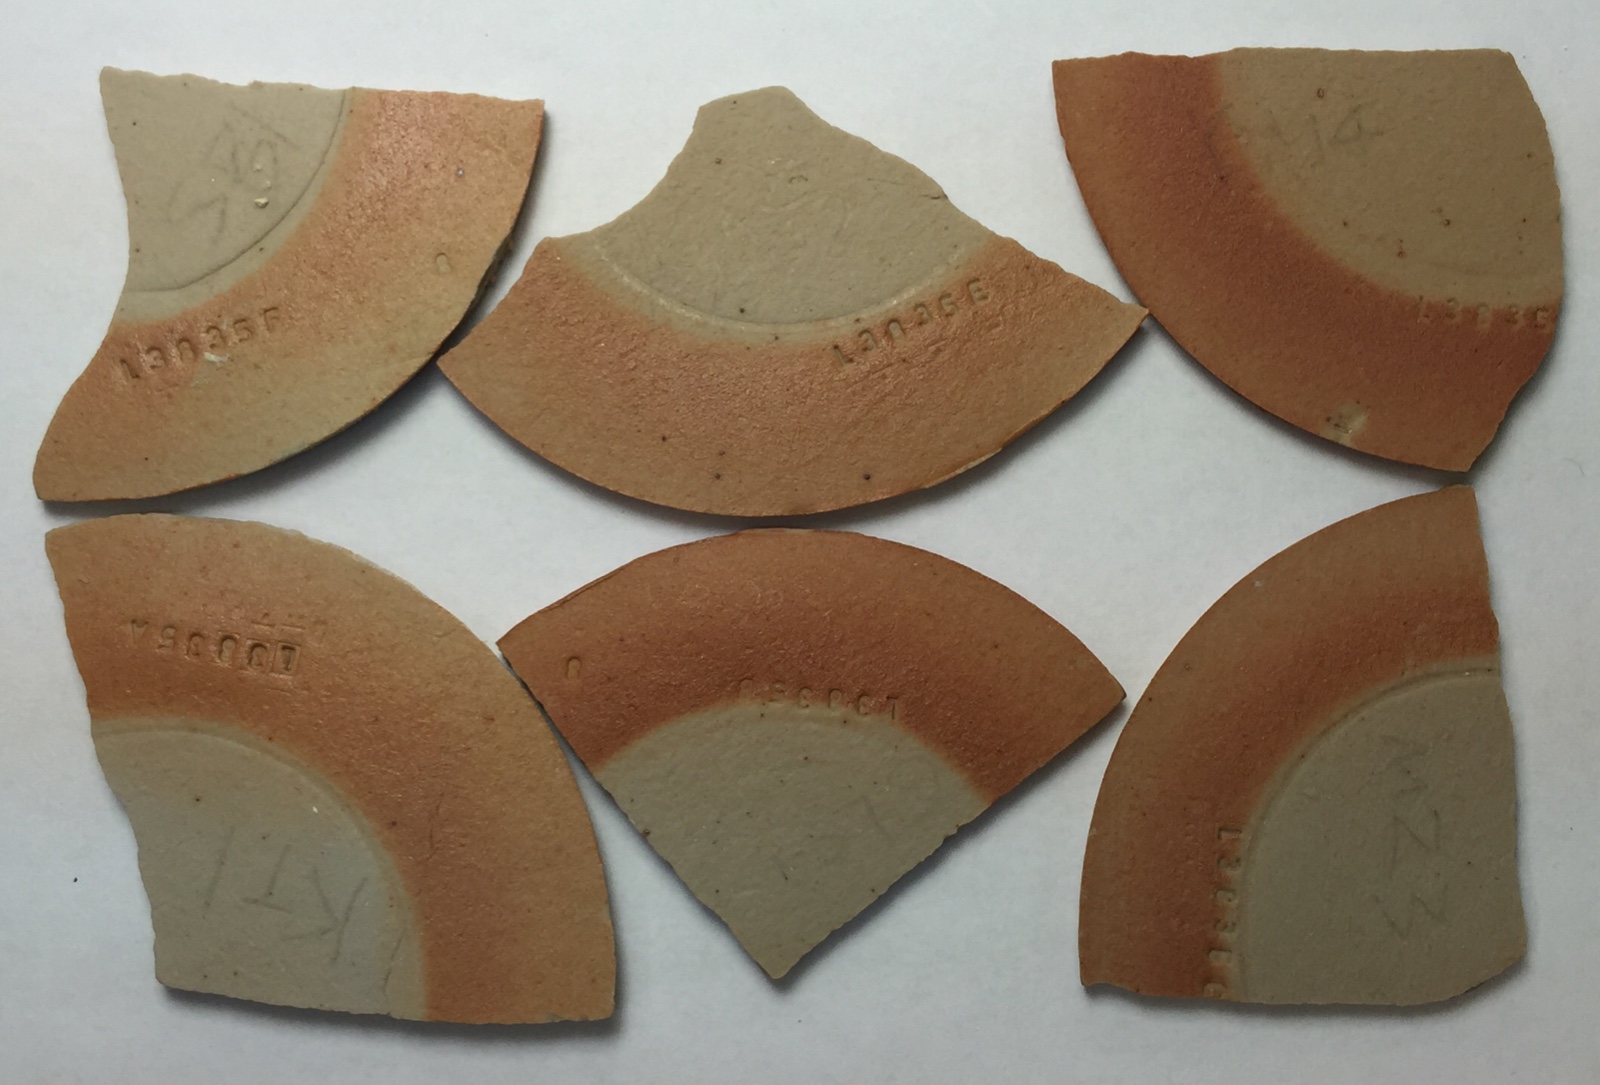
In the picture we can see a difference. The color of the dried pieces. Some are darker because they are higher in lignite.
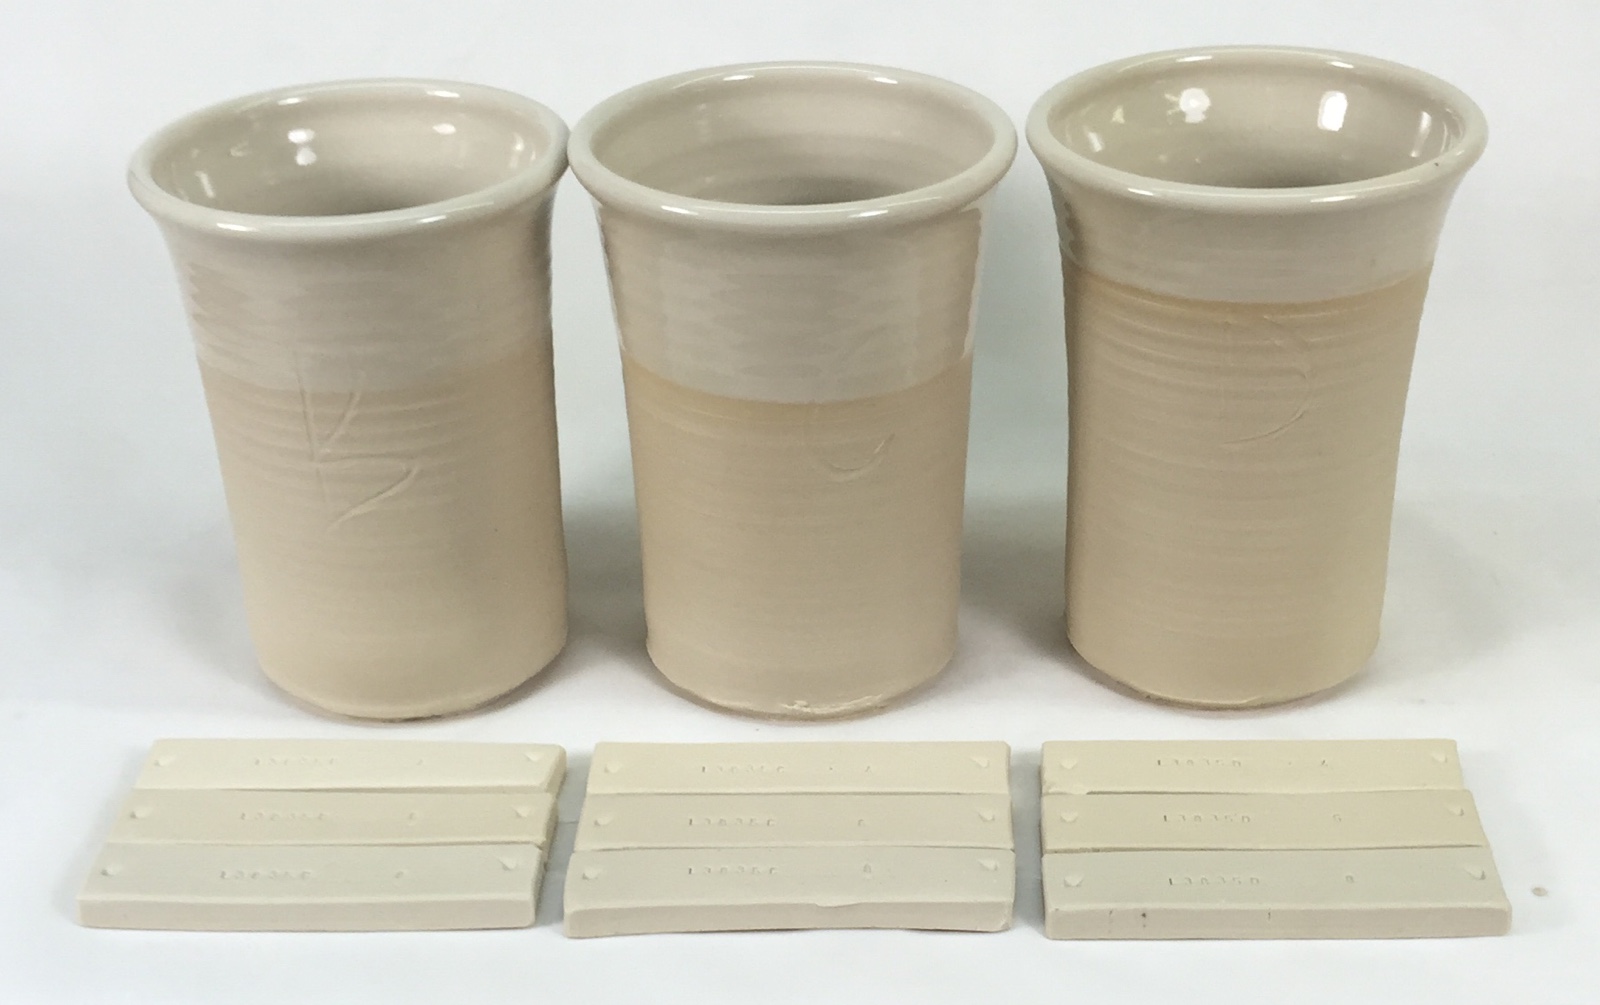
I bisque fired each of the mugs and then applied a transparent cone 6 glaze (G2926B). This is Gleason, M23 and OM4, the smaller particle size materials.
This is KT1-4, Spinks Blend and 54S, the larger particle size ones.
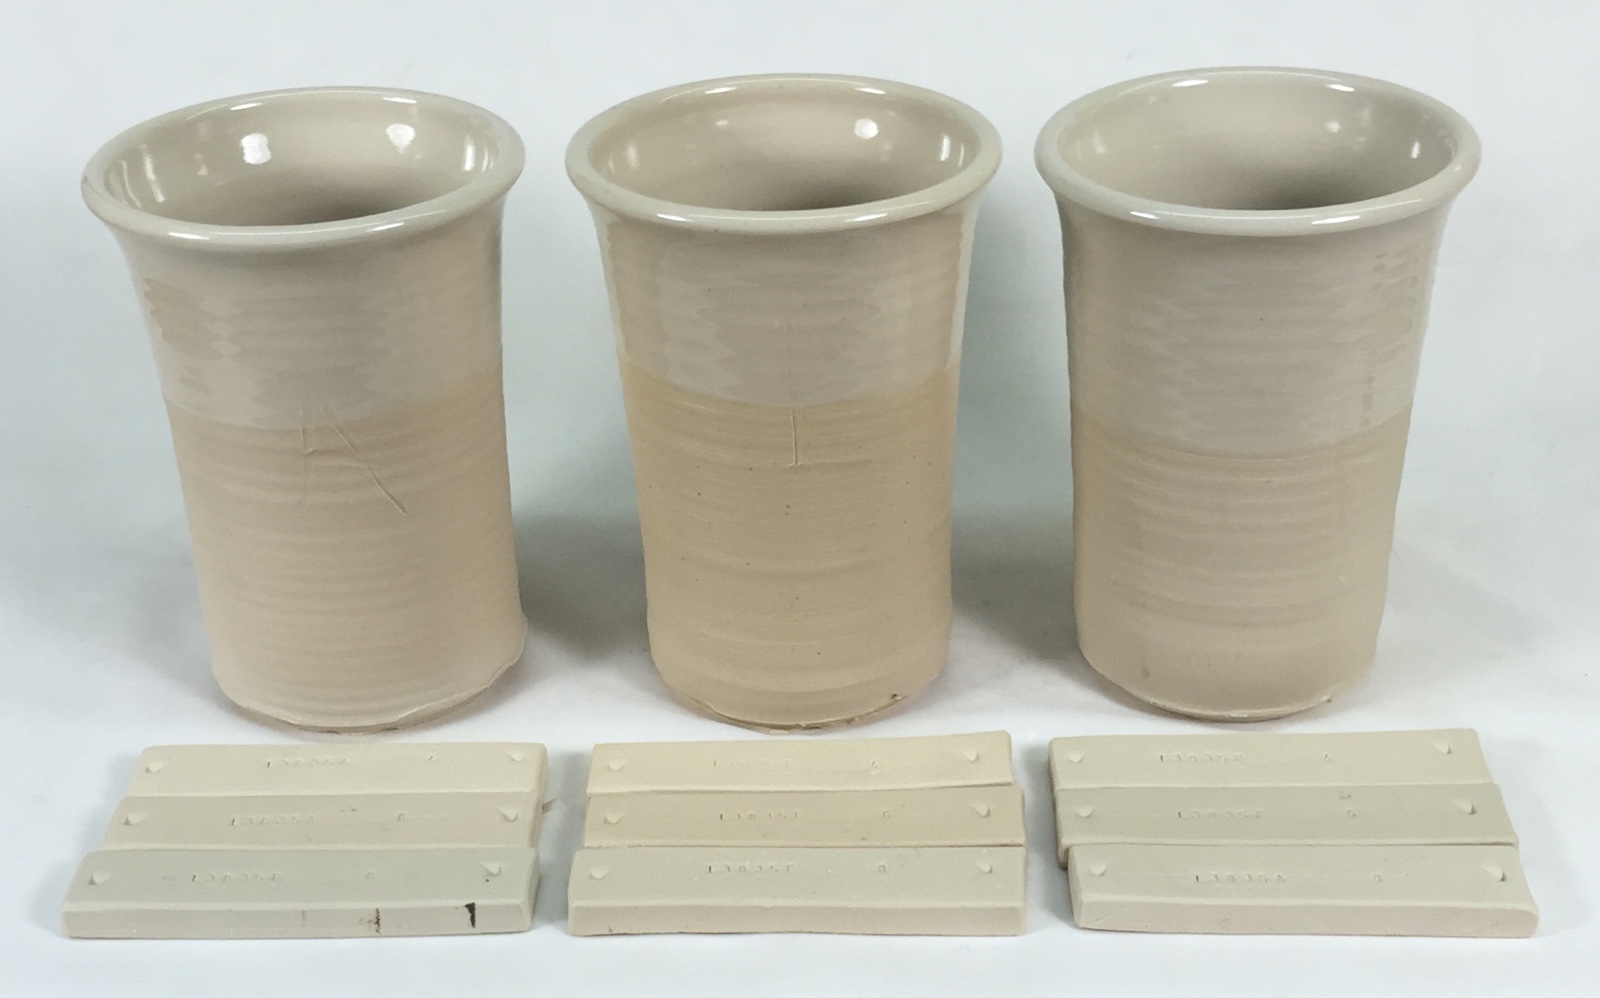
The fired appearance of all of them are quite similar. One thing to note is the effect of the soluble salts on the appearance of the unglazed surface.